From MICHAELS
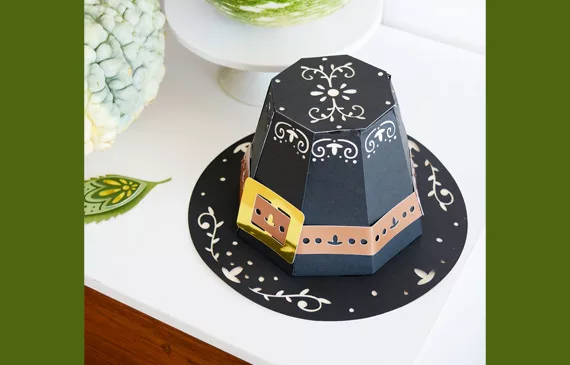
A Cricut design 3D Pilgrim Hat project to decorate your tablescape…you can even make additional hats, add a name, and use them as a place cards.
YOU’LL NEED
Computer
Printer
Cricut Pilgrim Hat Design (CLICK HERE)
Cricut Maker 3
Cricut Core Colors Basic Tool Set
Cricut StandardGrip Adhesive Cutting Mat
Cricut Lightgrip Adhesive Cutting Mat
Cricut Single Scoring Wheel Tip and Housing
Mini Glue Sticks by ArtMinds
Smooth Solid Cardstock Paper 12” x 12” by Recollections, Pewter
Smooth Solid Cardstock Paper 12” x 12” by Recollections, Black
Smooth Solid Cardstock Paper 12” x 12” by Recollections, Purple
Glue gun
Mini Glue Sticks by ArtMinds
DIRECTIONS
1.CLICK HERE for the design in Cricut Design Space.
2.If you want to alter the project, select ‘Customize’, then use the tools in the ‘Edit’ panel to make changes before you cut.
3.Follow the prompts in Design Space to cut the images from the cardstock and poster board.
4.Insert your scoring tool when prompted.
5.Fold along the score lines.
6.Apply the cut cardstock in the same order it appears in the ‘Layers’ panel in Design Space, starting from the bottom layer and working up, using hot glue.
7.Fold the top tabs of the hat to the inside and glue the assembled hat top on top of the tabs.
8.Thread the Gold buckle cutout over the hatband, then glue the hatband closed and slip it over the hat. It may be tacked into place further with hot glue if desired.
Find this craft and more holiday fun at michaels.com